photo home_zps6d4f0910.jpg photo home_zps6d4f0910.jpg photo preproduction_zps0aed42bb.jpg photo production_zps13a97b4d.jpg photo postproduction_zpsdab6d7fd.jpg photo theshort_zps5df2e33b.jpg photo videologs_zps4d0feed2.jpg photo contact_zps45cb7eba.jpg

Saturday, 1 March 2014

Pre-Production: Skinning Benjamin Complete

Hello Everyone,

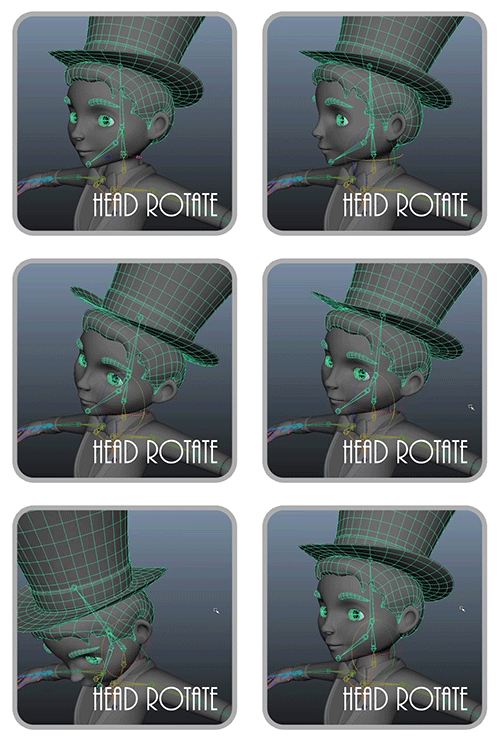
Skinning Benjamin was a bit of a rigorous process as it was the first one. We had to skin weight the little tyke which was done with a combination of weight painting and the component editor. This post shows the functionality of the character at the joint level. At this point no controls have been added leaving functionality to the skeleton and the weight distribution between joints alone.
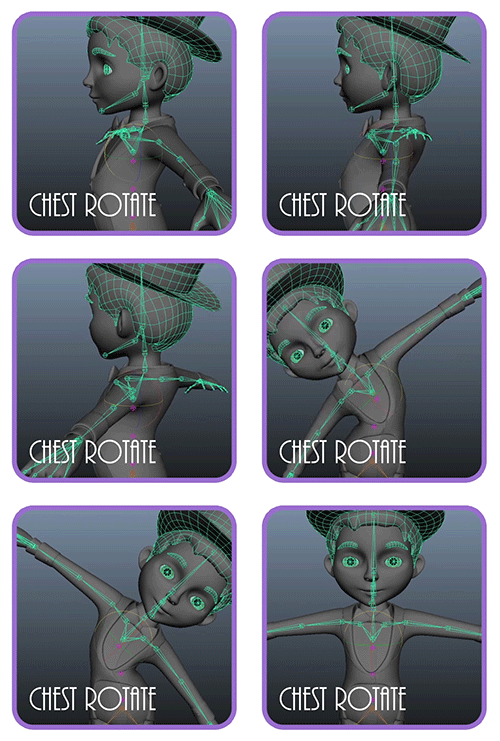
The panels above show the finger joint rotations, the chest joint rotations and the knee joint rotations. The key here is balancing the weight between joints to achieve half decent deformation.

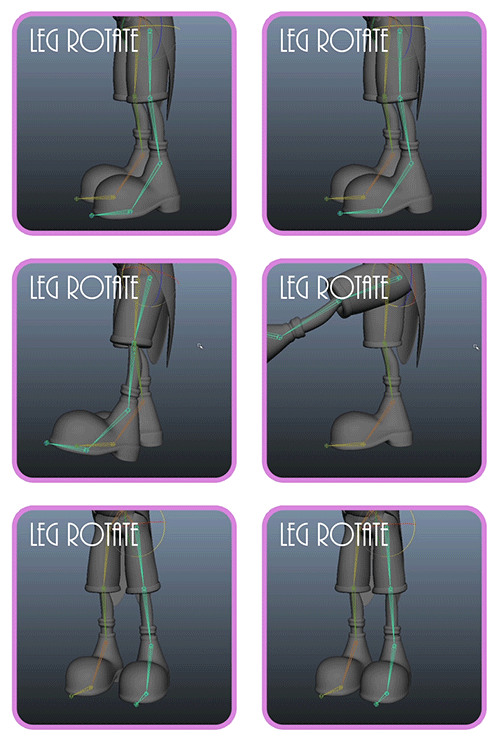
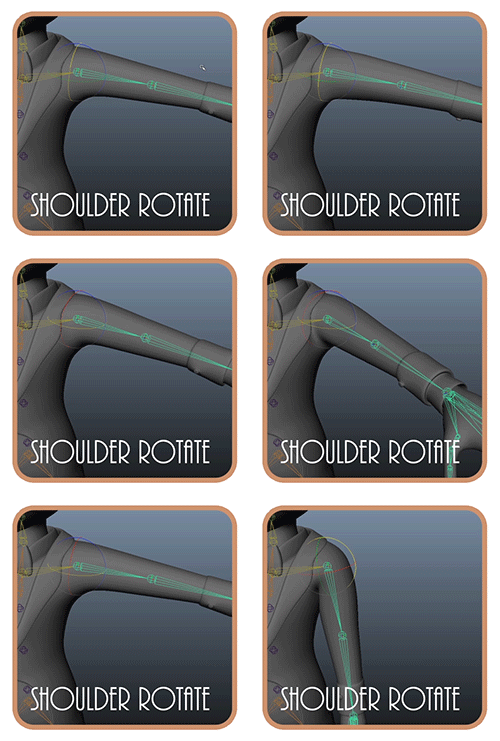
The panels above show the leg joint rotations, the chest joint rotations and the shoulder joint rotations. These rotations can be used in the x, y and z dimensions offering variations on the model deformation.
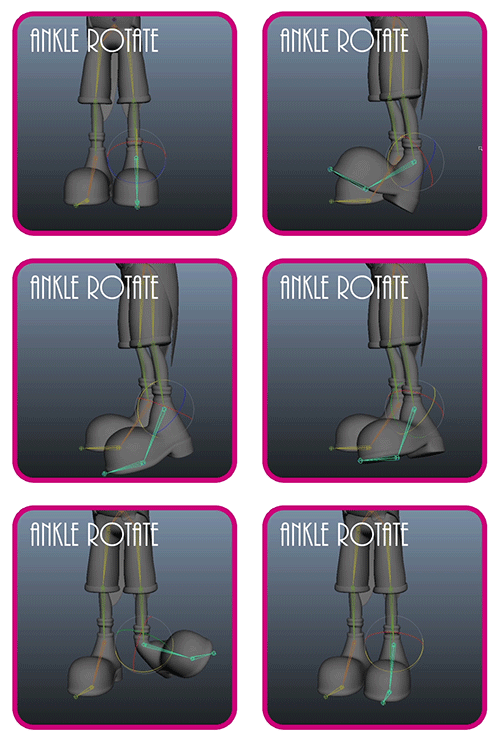
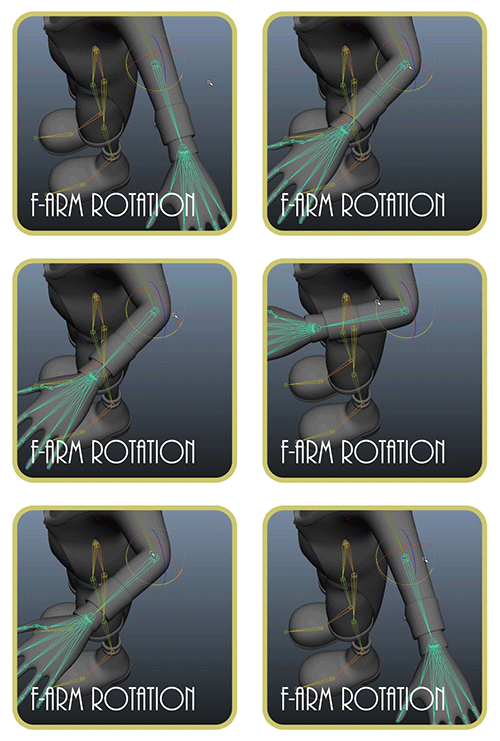
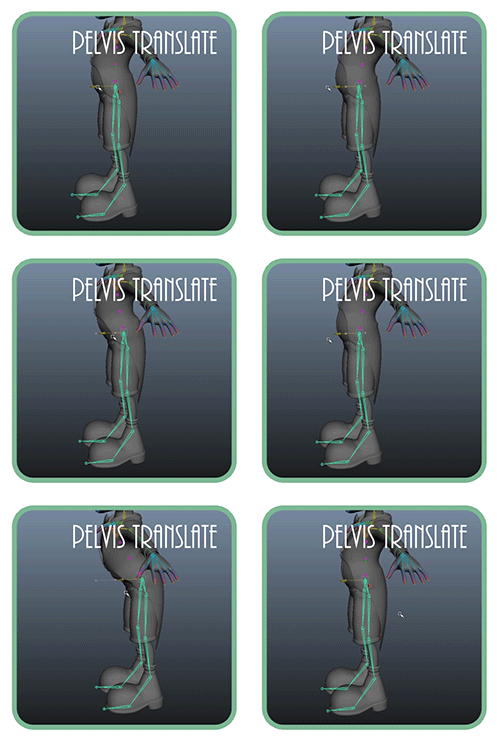
The panels above show the ankle joint rotations, the forearm rotations and the pelvis translates. All of these joints can also be translated but obviously its not a natural process to the human skeleton. The pelvis can also be used to rotate from side to side which is natural. Unlike the moonwalking translate :P
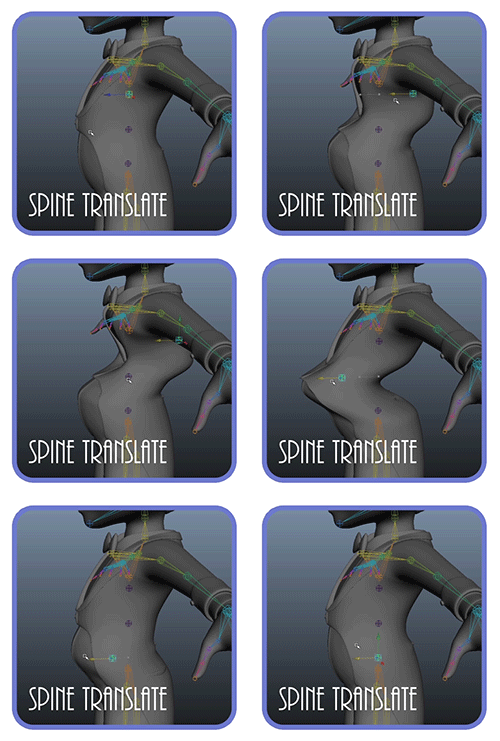
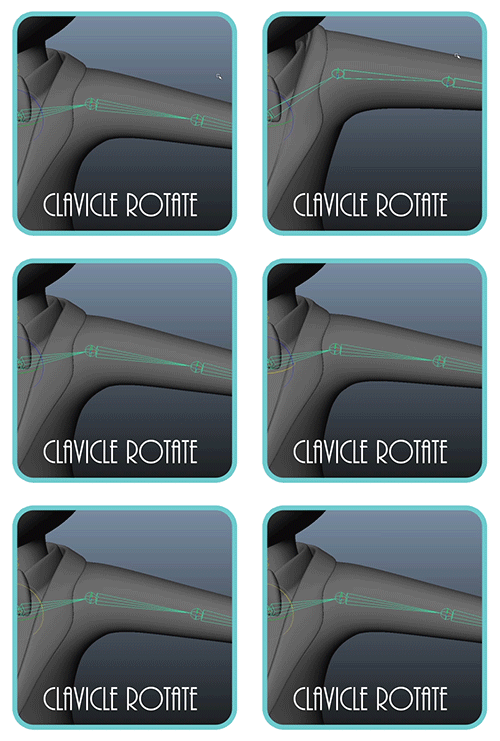
The panels above show the spine translates which are in 3 parts of a ribbon spine connected by joints, the wrist joint rotation and of course the clavicle joint rotation. The joints of the skeleton are highlighted green the outside skin deforms behind it. You gotta love skin binds!


Lastly we created a little video showing the skinning of the Benjamin model from initial skin bind to final skin weight. The model was weighted top to bottom going along various mesh objects (the head, the torso, the hands, the legs to the shoes). Objects like the brows, hair, hat and eyes are parented to the root head joint or wrapped to the face mesh. The hair of this mesh was also the template hair.

The next step of these videos is to get the rig underway which adds extra functionality to the character model. These include facial blend shape controls, IK controls and set driven keys. This also had to be done to our other protagonist character Barnabas... You can check out that post here!

Anyway take it easy!
xXStItChXx
No comments:

Post a Comment