


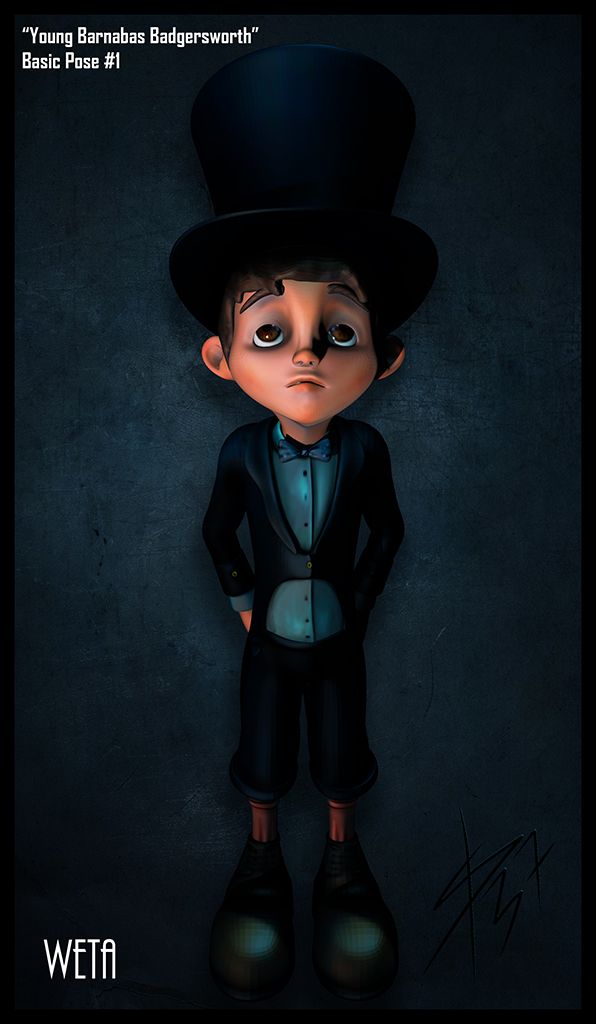
I am back yes I am chain posting here but not without good reason. Following the success of my Benjamin Weta I sat down to knock up a pose/render worthy of Young Barnabas. I wanted something empathetic as these concepts are to reflect persona's more then actual settings. The expression on Barnabas made me consider my area of expertise DARKNESS MWAHAHA. Of course I realise this does not sit in our world at all but as I had the control over the concept I found myself wanting to go darker and darker until his suit sat in a dark frame. Now I know what you are going to say... it looks like a concept on abuse... Its not that - its to reflect the fear Young Barnabas had of his dad - Bernard.
I prefer to think of this concept as Barnabas's inner child being shut away and repressed as is Barnabas's artistic talent in our short. Its like I said theses are more about persona then portraying a scene or a message. Benjamin's Weta was happy and dynamic because that is who he is. Young Barnabas was told not to chase his dreams by his dad so he is on a downer. This is of course not that much different from his adult counterpart as he has lost his wife so that makes him more gloomy. I will see what happens with that one when I get to it. For now though please enjoy and DO NOT READ OUR STORY AS DARK BECAUSE ITS NOT!
Anyway let me show you the fruits of my labour, its always a fun ride!
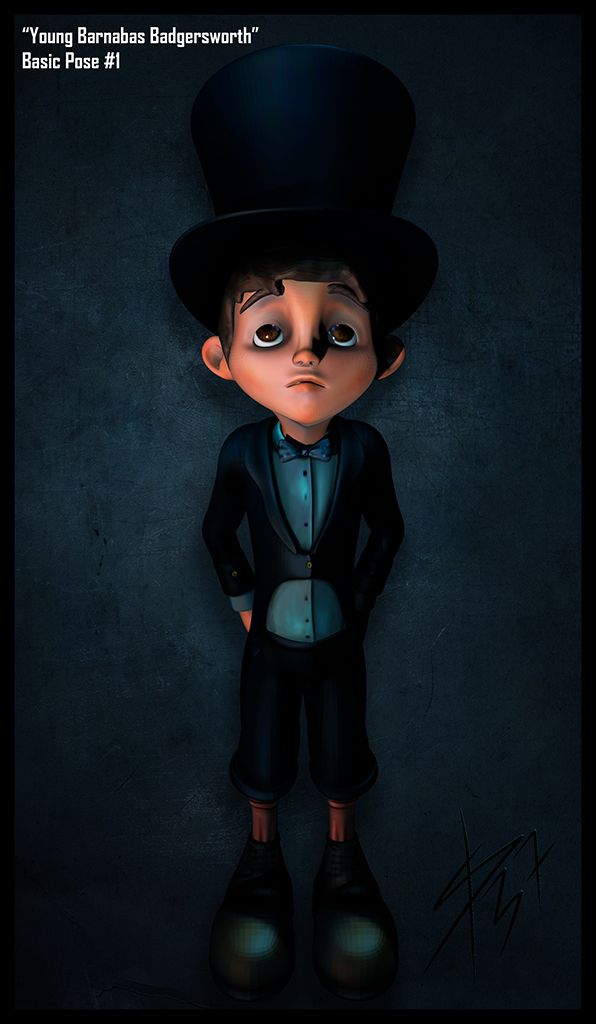
The image above shows the end result of the composited layers. Its the only time on this brief where I have totally indulged my darker tones and it will probably be the only time when Chrissie and Sammy see him ha-ha. That being said I really do like the way he looks in this concept. I didn't actually do bad with the posing although there are some areas which still bother me... I wont point those out you are just going to have to guess... I really do love making these concepts using my models they are so satisfying to me.
 |  |  |  |  |
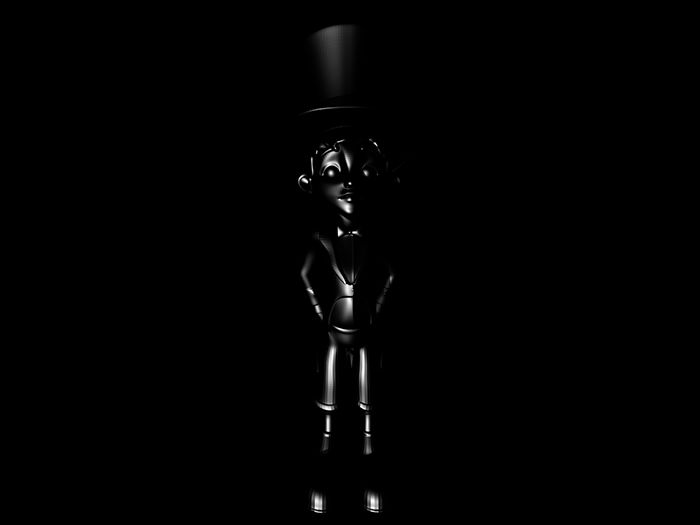
1. Basic Render Passes
The 5 images above are the basic 5 render passes you have to export from ZBrush. They are all created pretty much at the same time by Maya's built in render tab. This saves time as you only have to click each one and choose where to save it. I thought about doing a video on the Weta process but I am still not sure. It can take a few hours for me to find the right combination of layers and effects in Photoshop before I find the right one. Of course then there is always that worry that you will lose what you have made if you continue changing things... I still love it though.
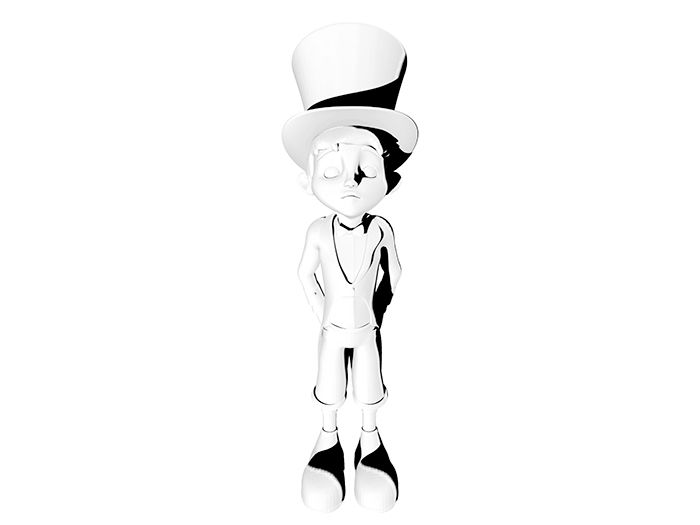
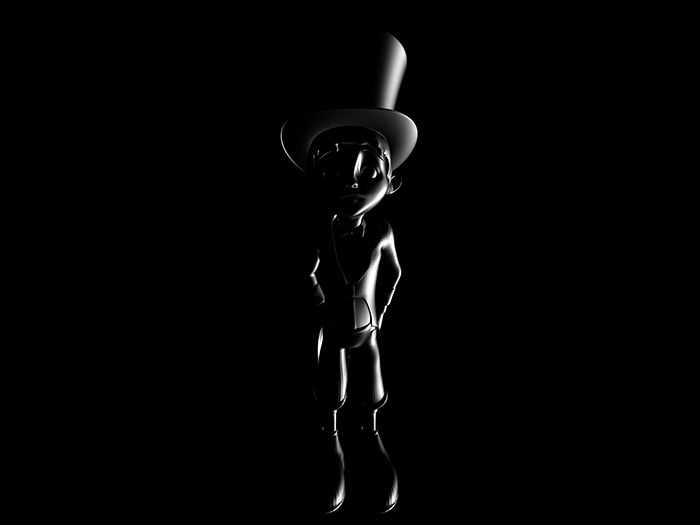
2. The Diffuse Render Pass
The diffuse pass is probably my most favourite out of all of the render passes mainly because it shows your model in all of its glory as if it is carved from a statue and lit in a museum. Its so satisfying to see and usually no matter what I do with it I always end up loving its results. Its basically built of a white basic shader and 3 lights running at the same time. The rest is just the functionality of the ZBrush rendering engine. Of course when you go up in document size you find it begin to slow down very quickly.... It doesn't like A4 size.
 | 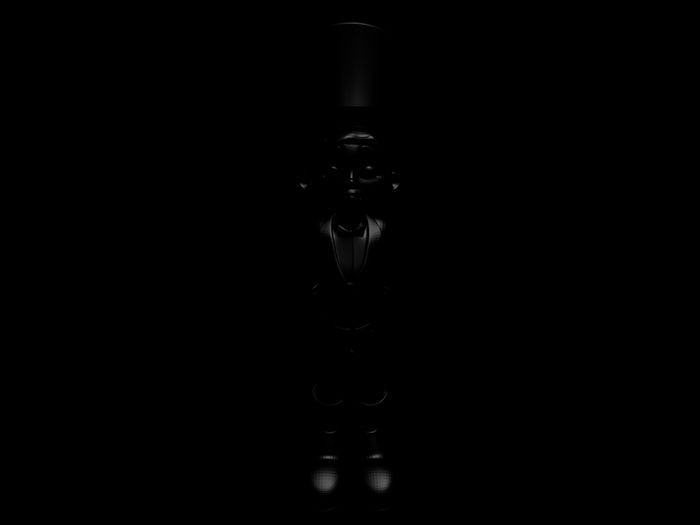 |  |
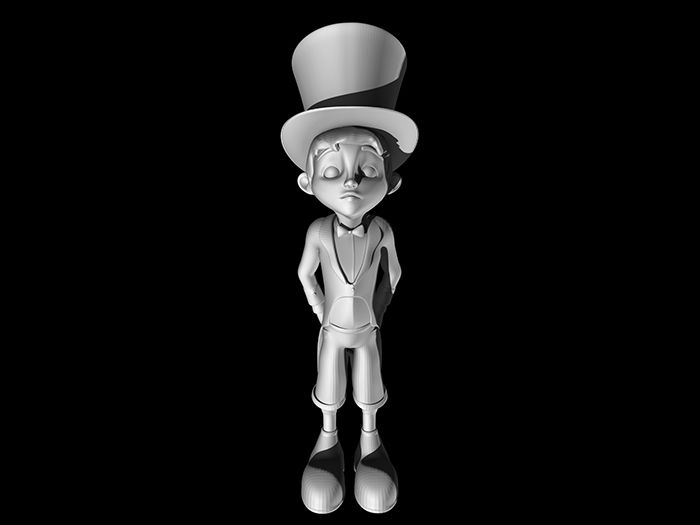
3. The Light Passes!
The Light passes can be the fussiest thing about the compositing process because usually they are too strong for a concept. They might be good if you are looking to showcase a plastic model as the reflectivity goes out of the ceiling. These passes were from an online blog talking of ZRender passes and I have used them ever since. I will probably read up to improve my understanding of this process a little more. For each concept I usually end up rubbing most of the light out or changing it entirely. The black on the lighting model can also make layers darker then they should be.
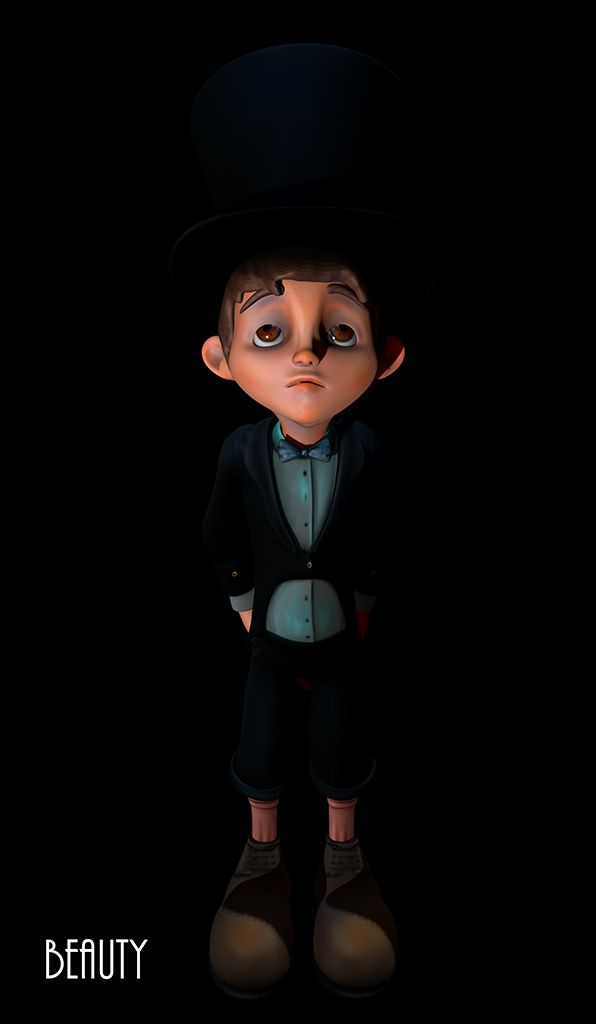 |  |
The Standard "Beauty" ZBrush Render Vs. The Weta Composite
The images above show the Weta composit vs. the standard ZBeauty pass. I do this each time just so I can appreciate the individual elements of my final output. The ZBrush render is essentially a render using check boxed layers which it uses at its leisure allowing no control to the user. The composite may take longer and may at times be difficult to finalize but its always effective. I haven't made one of these yet which hasn't left me thinking to myself at the end "Did I do that?" "No way it cant have been". Because if I can do it then anyone can...
Well I have one more post to commit before going and curling into a ball for a day or so. I always worry that I underestimate each brief from this course. Then I think to myself its not that I underestimate its that I have ridiculously high standards for myself. I don't know whether I was always like it or if my second grade teacher called a piece of my work crap and threw it in the trash in front of me ha-ha. Nah I do like looking back at my work and at my post it note box from time to time just to see how far I have come... and I'm still going... somehow :P
Later!
xXStItChXx
No comments:
Post a Comment