


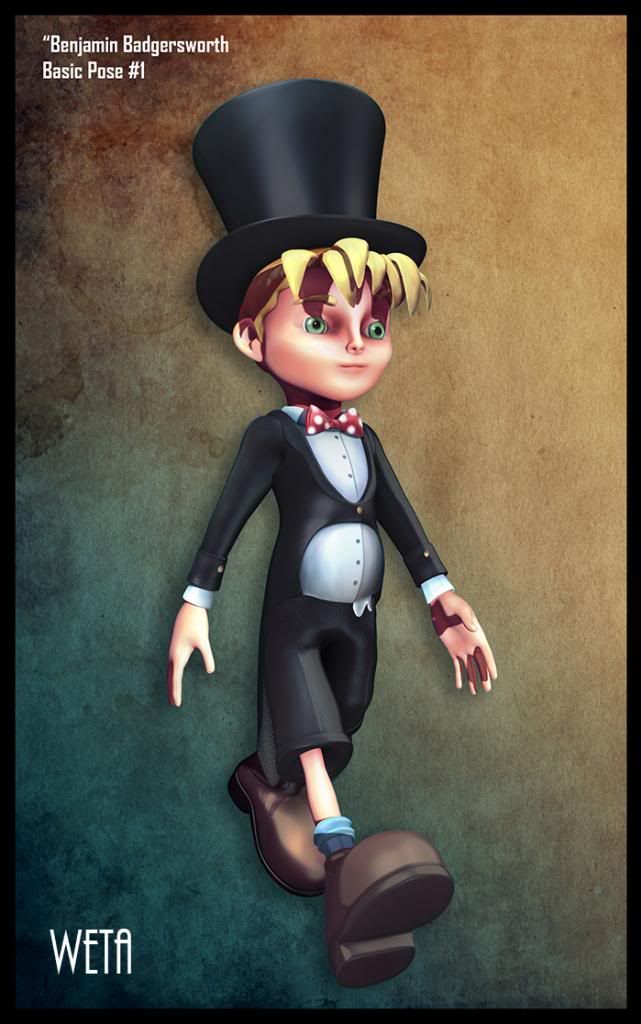
I been modelling most of today so I had to take a break but I thought I should use my time wisely so I sat down to knock out a composite concept of little Benjamin. Everyone who knows me know I love to explore the conceptual side of ZBrush. I love multi render pass images as you can tweak literally everything about the image. I enjoy working with concepts within ZBrush as you have all of your posing tools and the ability to render out passes at whatever size you want.
ZBrush is a concept artists dream if you ask me I prefer it to doing the drawing myself. After you have spent all of that time modelling to get your geometry correct why not have some fun? A composite render is built of multiple render passes which allows you to modify shadows and lights within a program like Photoshop. I love it for the sheer freedom, no strings attached the model doesn't even have to be UV mapped. I fully recommend it and for people that are curious I can give some advice on what to do if you want it :)
Anyway let me show you the fruits of my labour, its always a fun ride!
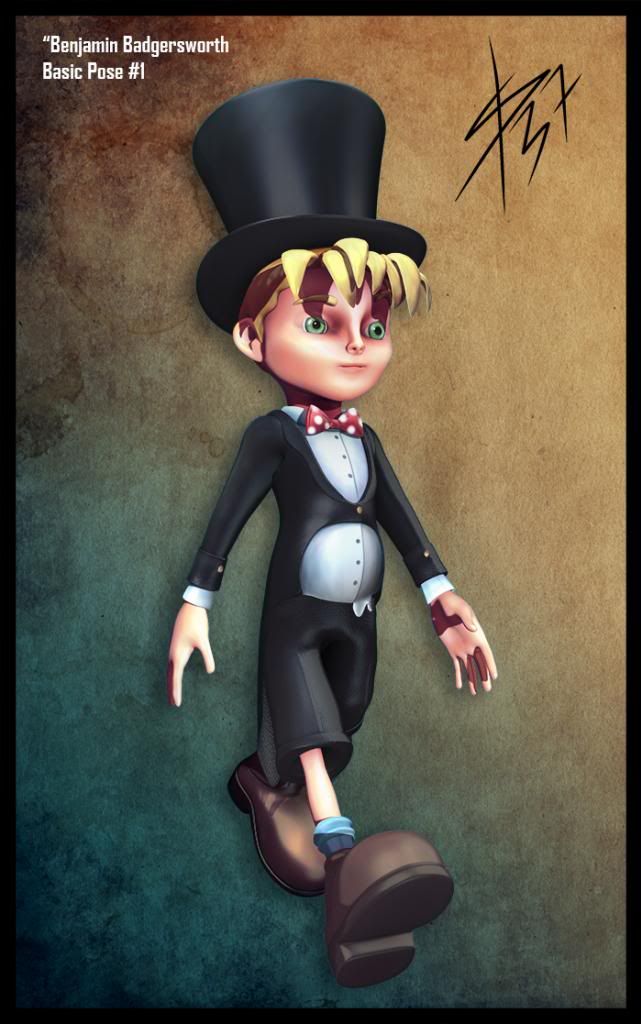
The image above shows the end result of this process, there are numerous layers that went into the creation of this image. They were blended together within Photoshop using blending modes and opacity. A number of FX controls were also applied as well as hue and saturation adjustments to change shadow tones. I dialled quite a few layers down to get this concept to where I was happy. The problem with doing these passes is when you first sit down to sort them out you don't know where to start. You have quite a few layers and you can only find the right combination by test after test.
 | 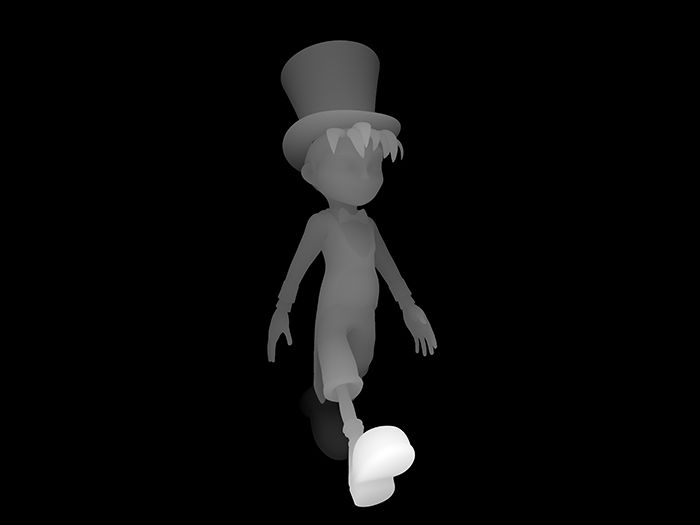 |  |  |  |
1. Basic Render Passes
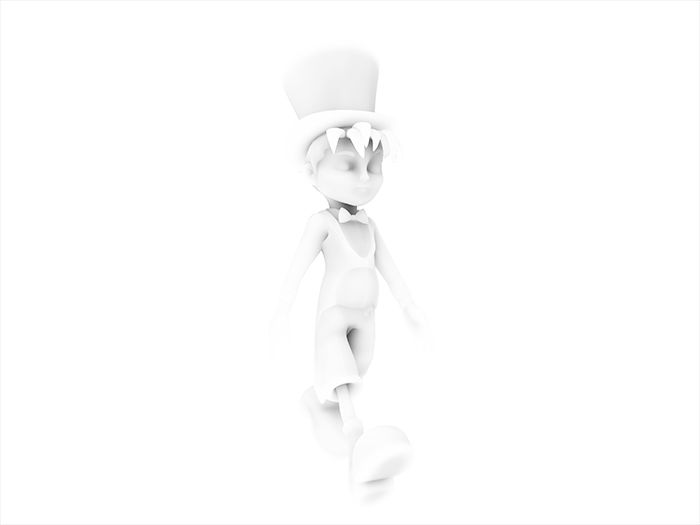
The images above are the basic passes I used to create the model. You have flat colour which allows you to change the poly-paint. The ZDepth is for distance between areas of the mesh in this case note how far the shoe is coming forward compared to the back arm. Next is the shadow pass which allows you to change the colour/strength of shadows another cool feature. Next the Occlusion adds darkness in the crevices unaffected by the scene light. Last but not least the mask which allows you to slice the images from the hard background exported from ZBrush.
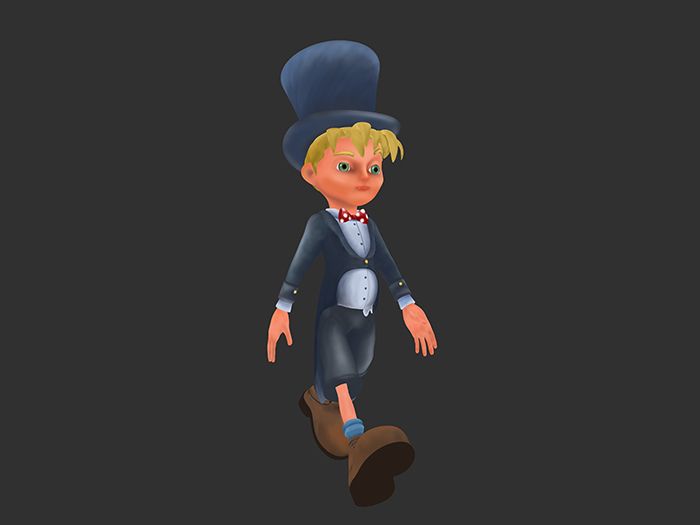
2. The Diffuse Render Pass
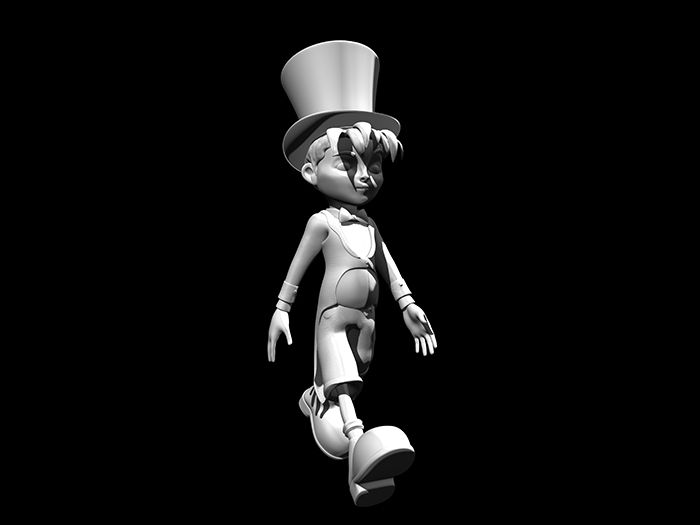
Next comes the ever important diffuse pass which essentially is a basic material lit by 3 scene lights. The entire model is also filled with white its mainly used to take all of the information from the other render passes so it generally sits at the bottom of the layer stack in Photoshop. ZBrush's materials are one of the most handy features about creating conceptual renders. You can make Eye's shine with toy plastic, you can make skin pop with skin shader and you can add shine to metal using chrome. This is why the model feels so alive when you combine the passes...
 |  |  |
3. The Light Passes!
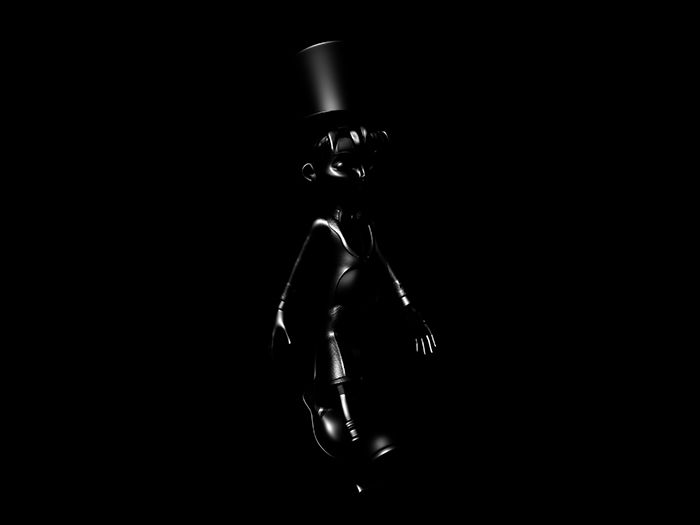
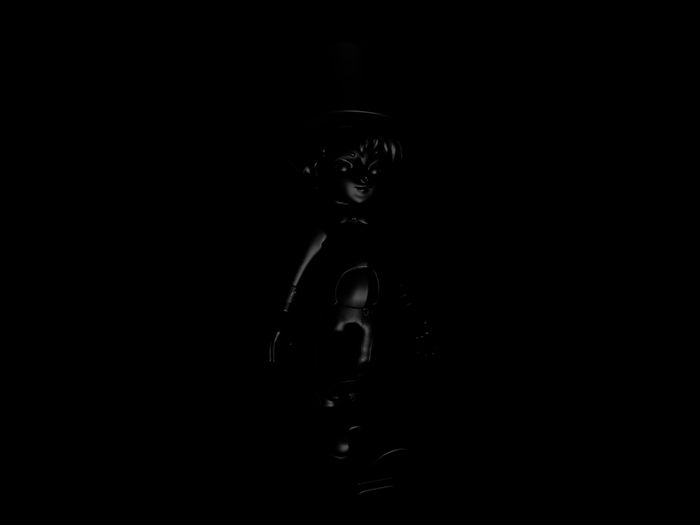
Last but not least are 3 light passes each illuminating different areas of the model. The ZBrush Basic Material 2 reflects the light on black which acts as an alpha on the right blending mode. The key light is put on the upper left area of the scene while the fill light sits in between. The rim light accentuates the other side of the model Of course you don't have the have the lights coloured in this way. You can change them to meet the mood of the background you have chosen. On the next weta concept I knock up I will probably play with this element.
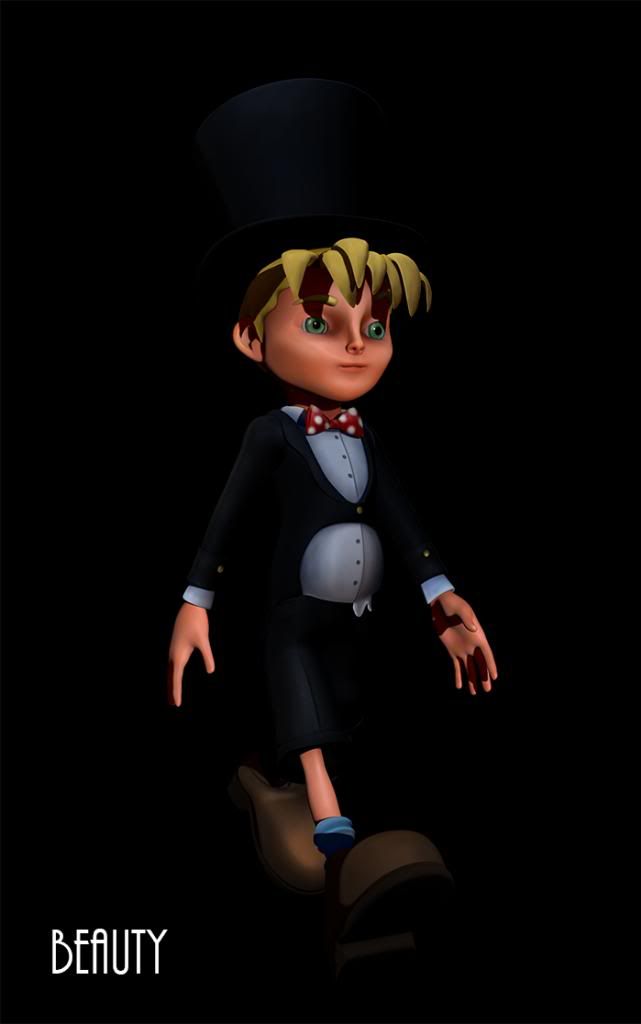 |  |
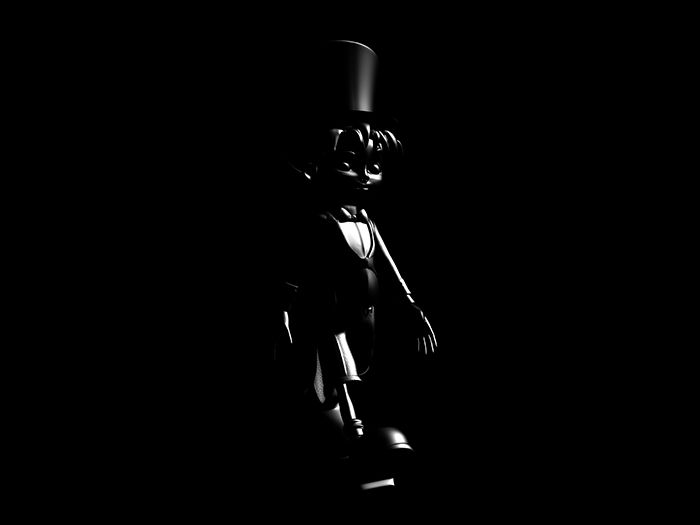
The Standard "Beauty" ZBrush Render Vs. The Weta Composite
Last but not least I always like to look back at the beauty pass just to see how much I have improved the model by combining and adjusting the render passes. The last thing I did was add a paper texture but I wanted there to be some tonal variance in that so I added a subtle gradient effect. I then applied a gradient inside the flat colour pass just to compliment the colours in the texture. I tried to keep the warm colours in the places with flesh the colder tones near the recessed hidden areas. It always makes for quite a nice result. I am happy with this!
Well this was a nice step away from modelling. I have been doing nothing but modelling the past few days so I had to stop and get my bearings. I am still cracking away at Barnabas fixing problems as and when they arise. I'm hoping to have a video put together after all of this so keep your eyes peeled. We don't have long to go until the deadline is due in so I am pulling out all of the stops. Don't worry Phil I am not trying to burn myself out. I am taking things gradually it just takes a while to get everything together to post. Please enjoy the post people!
Later!
xXStItChXx
No comments:
Post a Comment