Hello
Everyone,
One of many updates but this took so long to get completed I will have to drastically speed up for the next 3. I have turnarounds to blast through before Friday. Anyway when it comes to costume design its always a bit of an ache for me.
Don't get me wrong I get why we do it but argh it can be tedious just trying to think up new design ideas for costumes. For this post I have knocked together a couple of ideas that I have been keeping to myself. These designs were drawn layered on a light box before being brought into manga for inking...
There is quite a process that I went through for these designs.
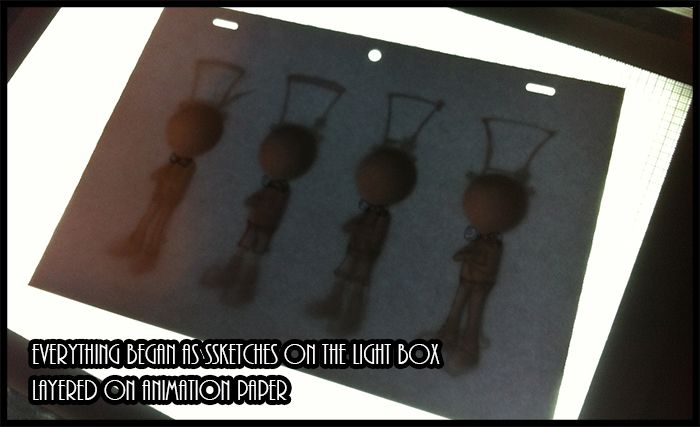
Everything begins from the base forms I knocked up in weeks 1-5 which were our rough guide for character form... They are not final but they are mannequins to dump costumes over. After that I posed them and then took a render from an angle I liked.
I then chose to drape the mannequin in layers using the light box. This means that I drew 4 versions of his suit jacket on one piece of animation paper and 4 versions of his trousers on a different piece of animation paper, etc, etc.
From there things got scanned and were inked in Manga studio before making their way to Photoshop for combining and animating...
Phew that was a bit of a mouthful, anyway I will show you the end result of this...
I created this from 4 full costume variants, I interchanged certain elements of the image to get 10 alternate costumes from my initial 4 (e.g. mixing a hat with another costume or a different bow tie with shoes, etc).
What I got was a variety of different styles which certainly cheered me up only having 4 colour variants (I wish there was time for more but I have to get cracking on the others). For now though I think this really gives a good selection and if anything is preferred we can address it at a later date...
From what I know the suits are pretty much decided... I mainly wanted to play with size and colour...
This is how he looks layered across 5 sheets of animation paper. There was also originally a guide in there so I knew the gesture of the body and direction of the face.
I just wanted to work in layers from a traditional standpoint for a change without committing to Photoshop for my layering needs straight away. Besides it was nice to see the possibilities for the character in pencil. Besides having these lines already mapped out made inking an easy thing to navigate although there was no time to refine and clean up...
Maybe for the next round ill keep it simpler.
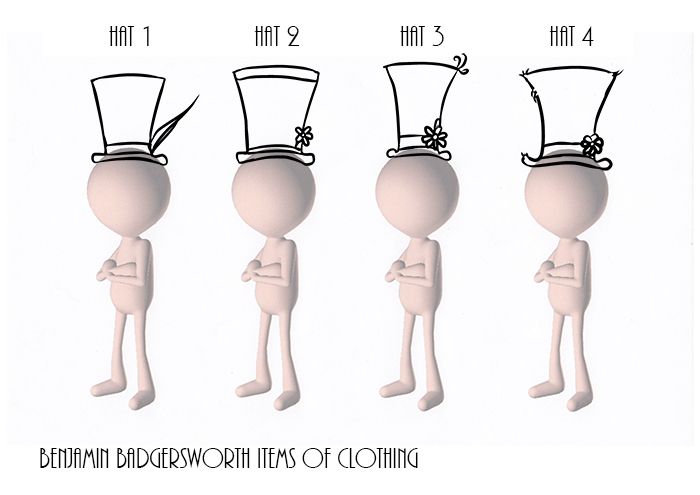
The hats were quite a breeze as there was only so much I could do with it without totally revamping the model I made for our logo. Hat 4 was the one I based the logo on just in case anybody is wondering. A part of me loves the feather in the cap
(Hat 1) but
that could be me comparing this guy to dynamite headdy not sure. I found the thin hat
(Hat 3) charming but again we wanted the hat to be kind of big for him...
This will probably have to be adapted a little more when I finally get down to the models... It will be a scaling thing more then a shaping thing...
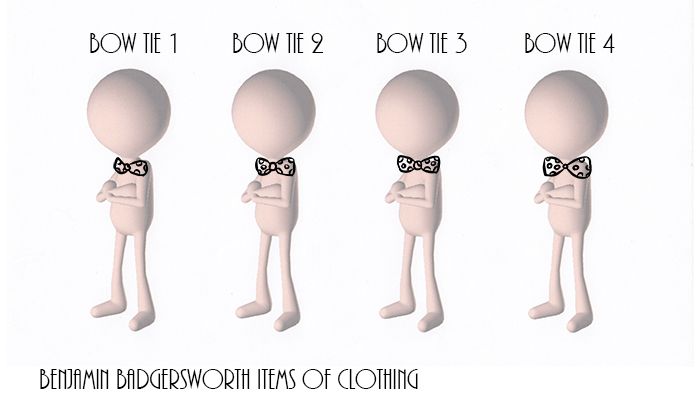
Next going down the body I got to the bow tie again there was not a lot I could do with this as our story has established a spotted bow tie from the get go.
The thing I found myself adjusting was the size fundamentally depending on how huge Sammy wants it. I kind of like it a bit understated which is probably why I like 1. Never the less they are look fine, its more or less the same design...
It wasn't until colour was added that I really explored some variants for it. Never the less it was a nice and quick thing to sketch and ink...
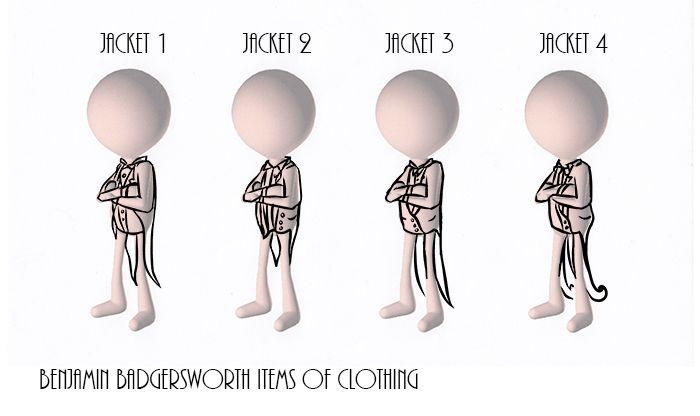
With the jacket I found a bit more optional variance particularly with how he holds himself how long the back of his jacket extends and is he has buttons done up or not...
Jacket 1 is entirely Sammy inspired as her and Chrissie really liked the jutting tummy with the sides of his jacket draping down the sides. I wanted to explore the option of the coat being done up lower
(Jacket 3-4) and open
(Jacket 2). They were probably right to prefer it looking as in Jacket 1 but
I was glad I had the opportunity to explore the paths not taken so to speak...
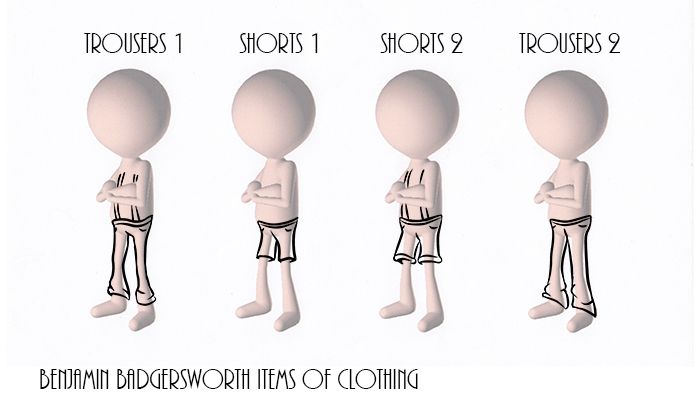
Next came the shorts/trousers tests.
The girls have been full on wanting shorts and saying that was the norm for kids in the 1930s which is fine.. I guess I just wanted to see him in trousers I even began adding in braces just to see if that could work.
Of course these were understated by the rest of the costume but I thought it was something worth thinking about... after all the clothes are a bit drab some braces could punch up Benjamin's attire a little more... Either way I'm happy I had the opportunity to think about this a little more...
I still love the trousers over the shorts but if shorts were a period thing then cool...
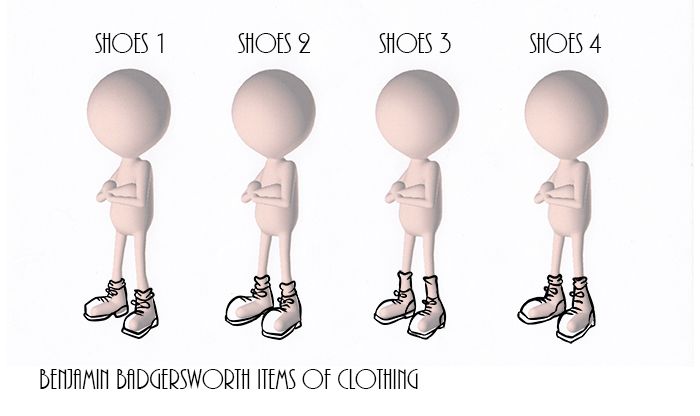
Next costume wise came the shoes which were probably my favourite part as I always love making clunky shoes.
I knew I also had to add socks in as it was in all of Chrissie's earlier designs for Benjamin. I wanted to make the front of the boots massive to make the whole thing feel more kiddy.
I didn't deviate too far from Chrissie's design other then changing the lengths of the socks and the sharpness of the shoes... After all we all really liked the choices for his shoes already.
Never the less I enjoyed making his boots miles bigger then the dainty dummy feet suggested...
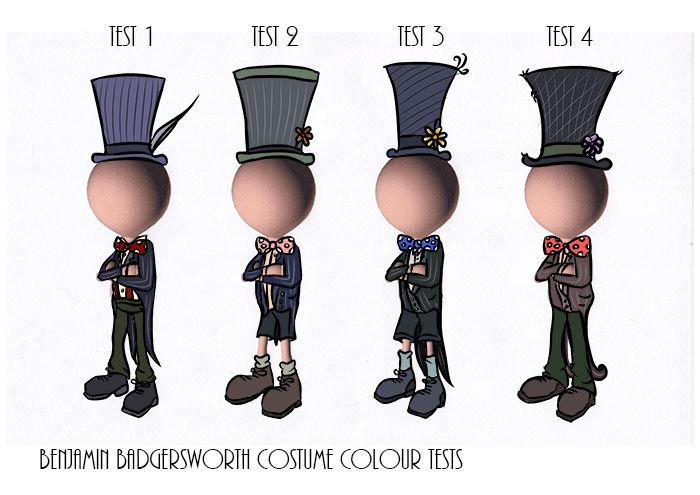
In the end I threw some basic colour over the top of these designs not looking to colour things too bright to keep our understated washed out feel.
The one bright element is the bow tie except in test 2 because I wanted to see the bow tie washed out. These were the 4 designs which chop and change at random at the top of this post...
I actually wrote down number combinations to randomise the individual choices (e.g. 43214 meant hat variant 4, bow tie variant 3, suit variant 2, trouser variant 1 and shoe variant 4).
This kept everything interesting and completely random.
This ultimately gave me 14 different designs using 4 variants of a basic costume... The combinations could have gone further but as I said it took waaaay too long to knock up all of this stuff for the post 14 costume variants is my happy number.
Well I still have 3 others to go but I'm hoping there poses will be easier to doodle over as this one was mainly difficult due to the crossed arms.
Still I have had fun knocking these up and the animation was certainly a nice way of looking at things differently. Hope everyone else is having fun tonight, I got more work to do!!
Later tater
xXStItChXx


soopa...hat needs to be bigger I think :)
ReplyDeleteyeah scaling is not an issue... its just design based. those dummys are based on the old Benjamin forms... Sammy has reimagined his size so Ill be adopting accurate things when it comes to the turnarounds.
Delete