Friday, 28 February 2014
Lighting Fixed in Church Scene
These are a few set renders from the EXT and INT Graveyard and Church scenes now that the lighting has been fixed.
Animation Exposure Sheet
This booklet contains the Exposure Sheets for our animation. It will aid us during our animating period and the rendering period. A breakdown of what these sheets contain will explain how.
Animatic with Timecodes
This animatic is for the animator to use while working. It has the overall run time, the shot number that refers to the # column on the exposure sheet and a frame count for that shot so the animator can refer to it for timing cues.
# - Each shot is numbers so we are able to easily refer to each shot. We can also cross reference with our live footage (each numbered accordingly) and a render of the animatic with the numbers also.
Action - A brief description of the action the takes place in the shot
Approx. Frame Range - The number tells the amount of frames this shot takes in the animatic, thus why it is an estimate. The shot's animator may find it takes more or less time to depict the action but this estimate gives an indicator
Approx. Sec - Again this gives the animator an indication to the length of time they have for the action but it is not a restriction.
Camera Shot - This refers to the type of shot it is. Standard film-maker abbreviations are used e.g. OTS = Over-The-Shoulder.
Camera Movement - Describes the action of the camera in the shot.
Dial/SFX - Any sound that effects the animation because the characters need to react or they cause it.
The next 4 columns are mostly empty at the moment as they are for the animator to fill out as they animate and to update with any changes. By the end these exposure sheets will be able to tell us what to render.
Camera - The animator will write down the name they have given to the camera in Maya that is taking the shot i.e. Tracking_Camera
Scene Title - The animator will write down the scene name that contains the shot i.e. Scene_2_part_1
Final Frame Range - The animator will give a frame range for the shot according to the Maya scene, i.e. 24 - 500. This range is relevant the the scene it is in and tells the renderer what frames they should render.
Animatic with Timecodes
This animatic is for the animator to use while working. It has the overall run time, the shot number that refers to the # column on the exposure sheet and a frame count for that shot so the animator can refer to it for timing cues.
Live Action Footage Shoot
The studio decided to recorded live footage to use as reference for our animation. We needed two types, one for 2D and one for 3D.
2D Footage-
As show in our 2D animation tests on an earlier post, we have taken live footage - rendered out the sequence as a Tiff Sequence - Edited the sequence down to be every 4th/8th/12th frame (depending on the complexity of the action). This shorter sequence then gets drawn over by the team to create our animated sequence. The sequence is not fully rotoscoped, as we draw our own character over the top of the footage, but it gives the animation a stylized look and we can ensure that our 2D animation is conveying the action we want it too. The actors (class mates) who helped us by performing the sequences for us have asked that we don't publish the footage but Danny had permitted the following sequence of shots. This is the shot where the widow sits on the 'Whoopee Cushion' in Scene 2.
3D Footage-
As our animation requires us to convey a lot of emotion from our two main characters we decided to also film Barnabas and Benjamin's actions too. This footage will be used during our animating period as reference for poses and facial expressions and also the length of time for actions. Thanks to Tutor Phil for play Barnabas for us while Polydoodle member Sammy played Benjamin. Again, out of respect for our actor we won't post the filmed footage of Phil but PolyDoodler Sammy has no such luck.
These photos were taken for reference for posing the characters in Maya.
And a short video of a few of Benjamin's Ref shots with a bonus shot at the end of a funeral guests reaction to a frog for Scene 5.
Thursday, 27 February 2014
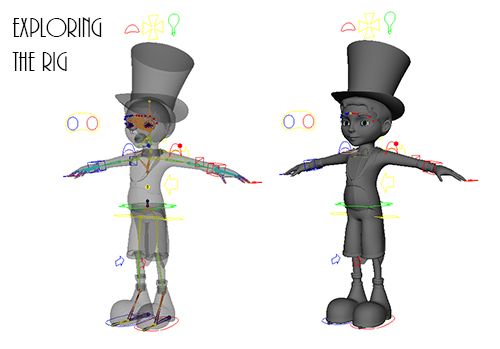
Pre-Production: Benjamin - Exploring the Rig
Hello Everyone,
The rigging process is something that a person tailors the more one does it. When we set out to find a better approach to rigging we tried tapping into numerous sources running google for everything possible. We thought it would be beneficial to demonstrate how hard we worked on trying new methods to rigging... There were quite a few avenues... but due to time we settled on what we knew already... Having said that we do have a better understanding thanks to these failed attempts.
There were many options to consider when we were considering our rigging options for Benjamin. Originally we thought that the puppet rig DVD by Carlo Sansonetti would be a great direction. It was of course through confusion and a lack of detailed understanding surrounding the rigging process that we decided to play it safe but not for a lack of trying out a number of methods.
Video Logs: "& Son" Tutorials - Week 19
Hello Everyone,
By the time week 19 rolled around we had 3 of the characters completely finalized and ready to go, the fourth character Bernard was something Stitch was going to battle in the coming weeks. In the meantime the goal was to have the main 2 characters rigged so story director Sammy could test the characters in Scenes and blocking various elements from the animatic. This was mainly so Sammy could do some testing while Stitch and Chrissie were in Prague sightseeing :P
By the time week 19 rolled around we had 3 of the characters completely finalized and ready to go, the fourth character Bernard was something Stitch was going to battle in the coming weeks. In the meantime the goal was to have the main 2 characters rigged so story director Sammy could test the characters in Scenes and blocking various elements from the animatic. This was mainly so Sammy could do some testing while Stitch and Chrissie were in Prague sightseeing :P
Video Logs: "& Son" Tutorials - Week 18
Hello Everyone,
Week 18 found Polydoodle looking at getting as many creative assets finalized as humanly possible. As Technical director Stitch prepares to dive head first into Rigging. In the meantime Story director Sammy and Art director Chrissie were off to do 2D animation tests with various environment and lighting passes to our 2D style digital sets. The process was a little slower then we had predicted especially with the Prague trip quickly approaching Chrissie and Stitch. Sammy would be the only working force for the 5 day trip.
Week 18 found Polydoodle looking at getting as many creative assets finalized as humanly possible. As Technical director Stitch prepares to dive head first into Rigging. In the meantime Story director Sammy and Art director Chrissie were off to do 2D animation tests with various environment and lighting passes to our 2D style digital sets. The process was a little slower then we had predicted especially with the Prague trip quickly approaching Chrissie and Stitch. Sammy would be the only working force for the 5 day trip.
Video Logs: "& Son" Tutorials - Week 17
Hello Everyone,
There have been a backlog of posts which have been gradually building from our team as they show the progress of rigs and various discussions between the Polydoodle team and our lecturers Alan and Phil. These are of course a few of many. Rest assured the backlog is being addressed as we speak and will hopefully be up to date by tomorrow. In the meantime please enjoy this posts as and when they materialise. This post is particularly a discussion Polydoodle had with Alan back in late Jan to Early Feb.
There have been a backlog of posts which have been gradually building from our team as they show the progress of rigs and various discussions between the Polydoodle team and our lecturers Alan and Phil. These are of course a few of many. Rest assured the backlog is being addressed as we speak and will hopefully be up to date by tomorrow. In the meantime please enjoy this posts as and when they materialise. This post is particularly a discussion Polydoodle had with Alan back in late Jan to Early Feb.
Time-lapse Animation - Further Tests
Taking the feedback received yesterday regarding the time-lapse videos we have made some alterations... the selection is now down to two.
Alan - Test number 2 but with a background that darkens too.
Phil - suggested secret option number 4 where use a rotating disk with stars attached and perhaps a star chart graph of it to make it look more drawn and graphical... as if to say 'this is a representation of a day-night-day rotation' as apposed to a literal.
Alan - Test number 2 but with a background that darkens too.
Wednesday, 26 February 2014
Animating Time-lapse (opinions needed)
Today's we were animating scenery. We set up controls in the Church scene so this animation could be done quickly and smoothly without loosing our place while keying in animation.
We do need some advice however on the matter of how to show time passing. In order to show the time-laps between scenes we want the sun to rotate off screen then back on, suggesting the next day. We've now added in the element of clouds, moon and stars to further show this rotation. Please watch the following variations and offer an opinion on which best shows the time-lapse.
Things to note:
-A large amount of the textures in our scene have transparency maps plugged in, this means that sometimes geometry is visible through other geometry or visibility flicks on and off in this view port mode. Please ignore this as it's doesn't effect the actual render.
Test 1 - With a night sky colour plane rotating in...
Test 2 - The light dimming...
Test 3 - Combination of the two...
Final Textures and Models
Polydoodle have been working hard this week smoothing out edges of the Scenes and Characters ready for the off. Today marks to start of the animation's first pass, the block through with Benjamin so look out for playblasts of the process. In the mean time here are some renders of the completed Scenes and Benjamin in his final texture.
EXT Parlor
EXT and INT Graveyard + Church
Benjamin Turnaround
Tuesday, 18 February 2014
Barnabas Rigging Turnaround
Barnabas now has a completed body rig and the first layer of his texturing. Time for the character to come to life in the face then the story can start taking shape.
Friday, 14 February 2014
Skinning Barnabas
This week Barnabas has been coming to life as he's taken through the skinning and rigging process. Here are a couple of play-blasts from the skinning process and an render of him in his first pose!
Skinning Torso Test
Skinning Leg Test
Skinning Torso Test
Skinning Leg Test
Benjamin Texturing
This week has been all about bringing our 3D models to life. The past few weeks we have been experimenting with textures. Alan suggested in our last tutorial that we need to find a way to match the characters with the sketchy, papery feel of the environments. It worked for Paddington, in a live environment, but it might be hard to read in a 3D world.
Firstly we needed to find a texture that would match the hand drawn environments so we thought that a texture made from something else psychical would work best. We used pencils, pens, chalk and pastels and mixed the mediums together to create Benjamin's texture. We were using Benjamin because he is the most colourful. We made some sample patches on large thick paper so we would also benefit from the paper's texture. Then we scanned them in and then cut them up to in Photoshop to place over the UV map. Finally we posed Benji in an environment to see how the two played off each other...
Firstly we needed to find a texture that would match the hand drawn environments so we thought that a texture made from something else psychical would work best. We used pencils, pens, chalk and pastels and mixed the mediums together to create Benjamin's texture. We were using Benjamin because he is the most colourful. We made some sample patches on large thick paper so we would also benefit from the paper's texture. Then we scanned them in and then cut them up to in Photoshop to place over the UV map. Finally we posed Benji in an environment to see how the two played off each other...
 |
| Pencil |
 |
| Pastel and Chalk |
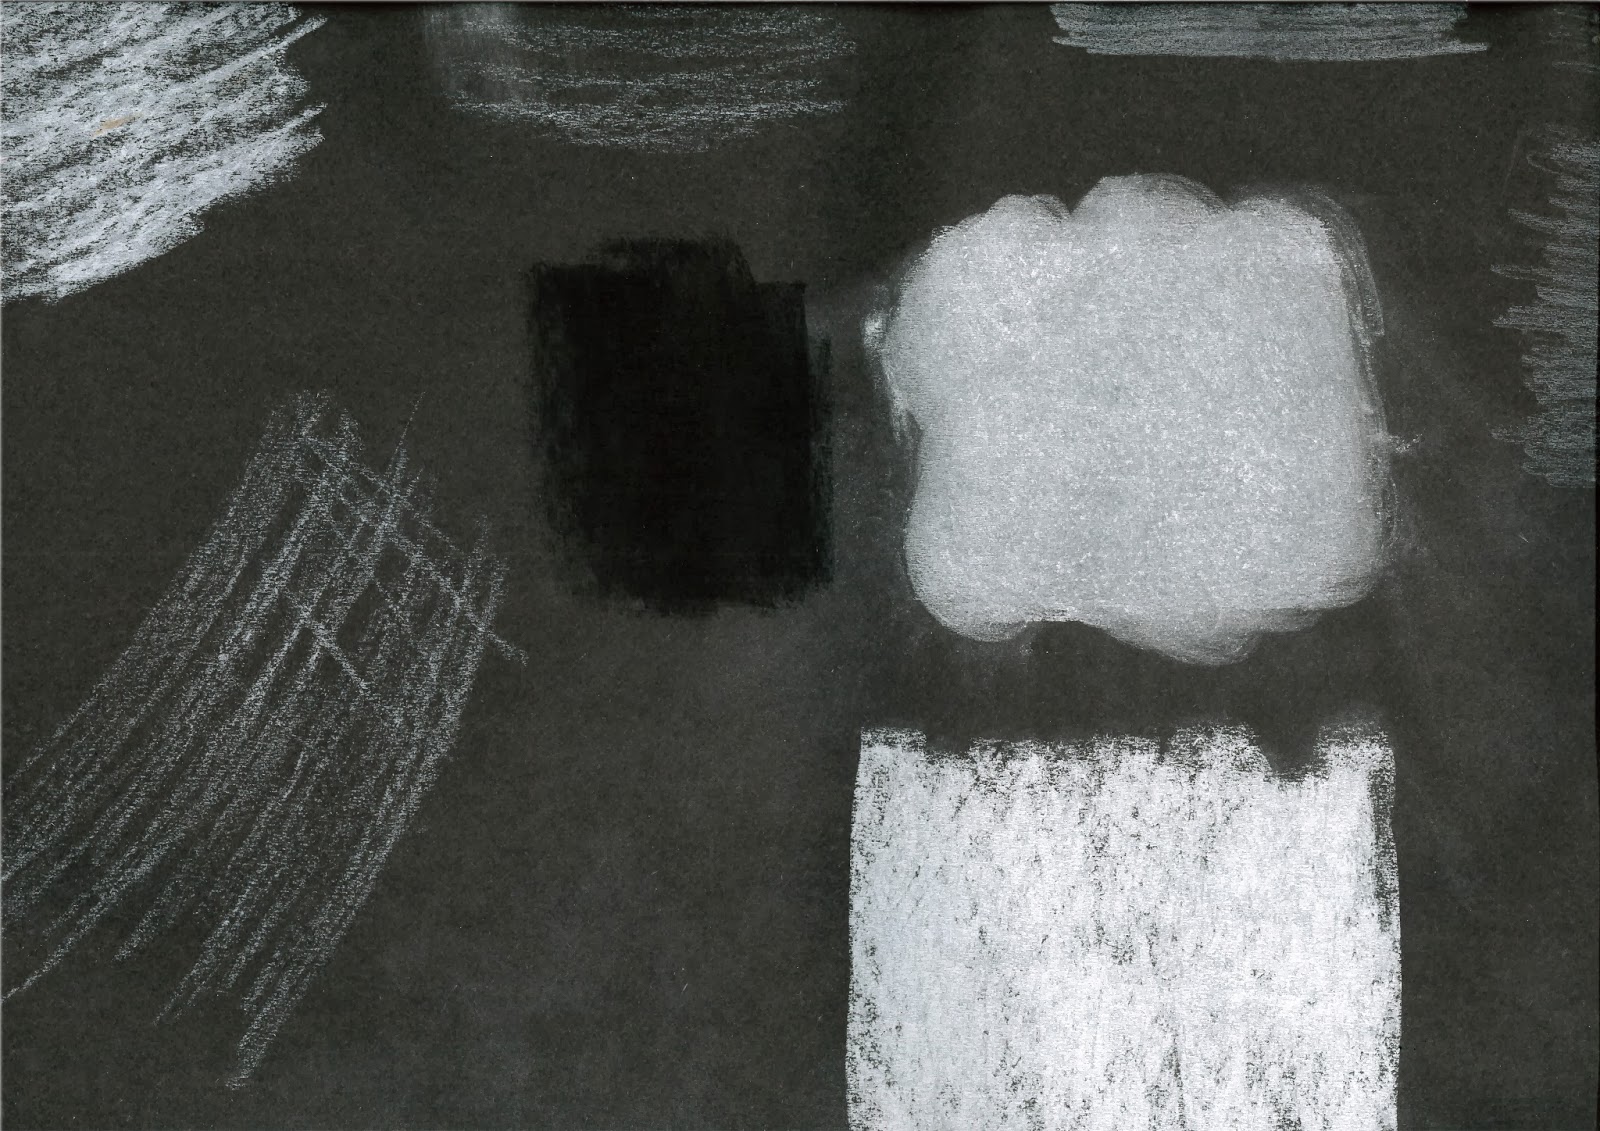 |
| Pastel and Chalk on Black Paper |
 |
| Benji's UV Map |
 |
| Close-up |
 |
| Full Body |
 |
| Benjamin in Scene |
Monday, 10 February 2014
Animation Tests
The Team experimented last week with how we intend to animate the 2D portion of our animation. We feel most confident with hand-drawn animation so we wanted to run a few tests to see if we could use live footage as a reference for the animation. Rather than rotoscope the whole footage we wanted to (like Paddington) use as little drawings as possible to convey action. The video shows walk cycles and head turn... we found that the amount of frames used depends on the speed and complexity of the movement. For example - Walk Cycle 1 we found worked best by taking every 8 frames from the original footage and making each of those frames last 8 frames.
Friday, 7 February 2014
Benjamin Hair and Skin
A double bill of updates on our progress here at Polydoodle Pictures.
Firstly we wanted our 3D characters to have a natural looking skin... not realistic but just the appearance that they are alive and to avoid the plastic look that sometimes comes with flat colour. The texture apply in this book it a temporary texture to imply the final colour. By exporting the skin texture, it has been applied to the other finished characters too.
The team have also been working on the hair for Benjamin as we felt it just didn't feel real. We received feedback from some peers that it seemed too 'anime' thus taking away from our desire to give our animation a British feel. We tried a few methods before coming to a good final result.
The next task it to finish Benjamin's texture test to find what texture will work in our environments.
The next task it to finish Benjamin's texture test to find what texture will work in our environments.
Subscribe to:
Comments (Atom)
